Banner

Saturday 28 May 2011

Remember the blog "Something Exciting is happening" ?

Well It's happened. A wonderful quilter who has a shop on Etsy.com called Moose Carol Quilts  bought some of my Quilt Blocks and made a Pillow Sham to sell in her shop. How cool is that! I'm so excited about this.
Photo's photo's you say...come on Sylvie..lay them out... ha ha Okay here they are:

The Pillow Sham..doesn't come stuffed.. ha ha
Some close-ups of the blocks.....she did some great quilting on them. I love it.
Swimming Crab
Immature Spider Conch Shell.
Trigger Fish.
A Shell from the Muricidae Family.
Swimming Crab.
A Blenny..cute little fish that hides in holes.
This wonderful Lady also bought 2 other pieces from me and I couldn't fathom what she was going to do with them....what a surprise when I saw the results.
A Mug Rug!
And Another Mug Rug!
Aren't they great! I think they are :-D The Turtle and the Baby Seahorses are found in my Green/Blue range and the others are found in my Teal range. Thing is when the ones I have in stock are finished..that's it...Anything new that comes next will be totally different...so if you like any of these you'd better buy it before someone else nabs it ;-D

Cheers for now.....
This is a scheduled Post...I'm still on the high seas...-p with probably not much wind... 

Tuesday 24 May 2011

Rag Quilt Tutorial

Hello everyone, My name is Tracey, and today, I'm writing a tutorial on how to make a rag quilt.

Finished quilt measures 50X65 inches, a decent sized throw for an average sized adult.

Supplies:

You will need sewing machine, rotary cutter and mat, as well as fabric.
The amount of fabric you need will depend on you. For the
quilt I've made in this tutorial, I only used two types layers and no filling or batting. I've used 4m (5 yards) of cotton fabric. (2m or 3yards of each) Plus 4m (5 yards) of fleece. This may be more then enough, but I always buy extra so that if I make a mistake I can correct it without having to make a trip back to the fabric store.

Step 1:
*note - Since I am not using batting in this quilt, I could have, as a fellow quilter on Etsy pointed out to me after I'd finished this quilt, sandwiched the fleece and cotton before cutting, and cut them together so that the squares would be all lined up. However, I'd already done it the long way!

First I cut all my fabric up into 6 X 6 inch squares. I've trie
d different sized squares before. 6X6 works best for me because I'm not great with numbers, but I know that after I account for seam allowance, each square will be 5X5 inches, easy number to work with when counting lines and measuring your quilt in the end!


Step Two:

*If you pre-sandwiched your fabric as you cut you will omit it in this step!
After you have all of your squares cut out, you will need to sandwich them and place a pin in the center to keep them line up well. Depending on the fabric you choose, you made need to pin at the top and bottom to keep it from moving around too much while your sewing.


Step Three:

Lay out your squares in the way that you want them to look when your quilt is finished. *If I know I wont be finished the quilt in one day and I will need the floor space for something else, I lay out my squares on top of another blanket, that way when I'm finished for the day I can just roll the project up and place it to the side! Once you've got them the way you want them, it's time to start pinning the squares together line by line. Pin the squares front of the quilt on the outsides. Continue till you have a full line of squares!


When you have a full line pinned together it will look like this:
(this will be the top of your quilt)


Then you will take it to the machine and sew a 1/2 inch seam on each of the squares you've pinned together. Other tutorials will tell you you do not have to back stitch when sewing a rag quilt, but I'm a rather safe then sorry kind of gal, so I always do a back stitch just to be sure my quilts hold up a long time.


You will repeat these steps until you have all of your lines completed, and will look similar to this in the end..


Step Four:

Next you will be pinning the lines together. At first this is a little tedious, but the more you do it the better you become and faster. First place the backs of two of your lines together, starting at one end line up the seams as best as you can. Fold the seam allowance close to you to the left, and fold the seam allowance on the back to the right. We do this because we don't want a giant bunch of fabric when we go to sew our lines together, the sewing machine will not like it, and your quilt will look bunchy in spots, stick to this method and it will always turn out the same, neat and professional looking. (When I started, I pinned both from and back seam allowances to ensure my seams would line up correctly. The quilt is forgiving on the top but if you are not exact, but you will be able to tell you mistakes on the back.. if you make any)

When you have your line is all pinned, it's back to the machine. This part goes a lot faster because you are not stopping and starting as much. Make sure your seams on the top are folded away from you, towards the presser foot, and the seams on the bottom are folded the opposite way. It seems weird to sew the seam this way, but its much easier to make sure your top seam is facing the right way then the bottom, and the bottom will tend to fold the right way because the directing of the fabric feeds into the machine. When you have your first two lines sewn together place them back on the floor where they were, and repeat with the next two lines. I sew them two at a time, because the longer you keep the pieces your working with smaller, the easier they will be to work with. Example: if you keep adding lines onto the first line, about 4 -5 lines down the quilt will start to become more heavy and harder to maneuver.

Next you will pin and sew the first two lines to sewed together, to the second two lines which will end up looking like this:


Continue on untill all of the pieces are sewn together and you have a quilt! Once you have completed this part, you will want to sew around the border. I give the border a double stitch ( I make two laps around the entire quilt) to ensure it will last a long time! When you take it to the machine this time, you will have to make a decision... which way to sew the seams!? For this quilt, because the fleece ends up on the inside, I choose to have all my seams sew to the back. If I had the same pattern on the backing of my quilt as the front, I would have folded the seams outwards or open, to match the squares and blend in better. (you will see what I mean if you ever make one this way)

Step Five:

Next is the part that probably takes me the longest. The snipping! The best suggestion I ever got when it comes to these quilts and I will pass on to you, is to buy these spring loaded scissors. They save your hands from doing the opening part and you are about to doing the most snipping you've ever done in your life! I snip mine every 1cm, which is .4 inches. that's a quarter inch I believe!


Step Six:

Take your quilt to the washer/dryer!! If you want to save your washer and dryer at home, I suggest you use a laundry mat to wash them the first time. Reason being, a LOT of lint and fuzz comes off these the first time you wash them. Commercial washer and dryers handle this better. My mom washed hers in her home washer/dryer, and she just emptied the lint trap every 10 mins or so and that worked, but if you don't have time for that, I suggest laundry mat! I wash mine in cool water, in a front loader (top loaders in my opinion are harder on clothes/quilts) and dry them on the tumble for this type. You don't prewash the fabric for rag quilts, so if you use a lot of heat, they may shrink up a bit, which can add to the raggy look. But I again prefer to take the safe route, and use tumble.

And now to reveal my finished, washed and dried, completed quilt....


Here is the quilt spread out:


A close up. ( I love how the fleece mingles with the cotton)


Cuddly and cute!

Thank you for reading my first tutorial, I hope you enjoyed it!


* If you have any questions you can email me @ CanadianQuilts@gmail.com
* Please like us on Facebook or join us on Twitter
* If you are interested in purchasing a quilt, you can have a look at the ones completed at Etsy or send me an email for custom quilts ;)


Monday 23 May 2011

Greetings from Becky in Eastern Oregon!

First of all, a special thanks to Sylvie for putting this together and asking me to guest post! Her computer skills far surpass mine, and her sewing and artistic skills have been so inspiring!

I'm a stay-at-home mom with little opportunity to travel, so seeing her travel photos and reading her blog has been a real treat! We use solar power in our lives, and that's how I "met" Sylvie, on the Etsy "Solar-powered team".

Besides mothering, sewing, blogging, and harvesting the sun in Eastern Oregon, I also enjoy gardening and trying to cook as much as I can for my family naturally and from scratch. My kids have begun the teen-transition though, and it's getting harder and harder to keep up with their voracious appetites LOL! It's also harder and harder to steer them away from all of the sugar and junk food out there. I myself fall victim from time to time, but with Spring here, we've been able to start planting our garden, and hopefully soon will have a ton of fresh berries and veggies. Here's a picture of our garden.
I started my Etsy shop in an attempt to make a bit of money to make ends meet. I made a few Kindle covers for Christmas, and soon had many people asking for them. I'm "solarthreads" on Etsy, and so far I've sold more than I thought I would, but I'm hoping to sell more. I have these all ready to bind and sew together right now.
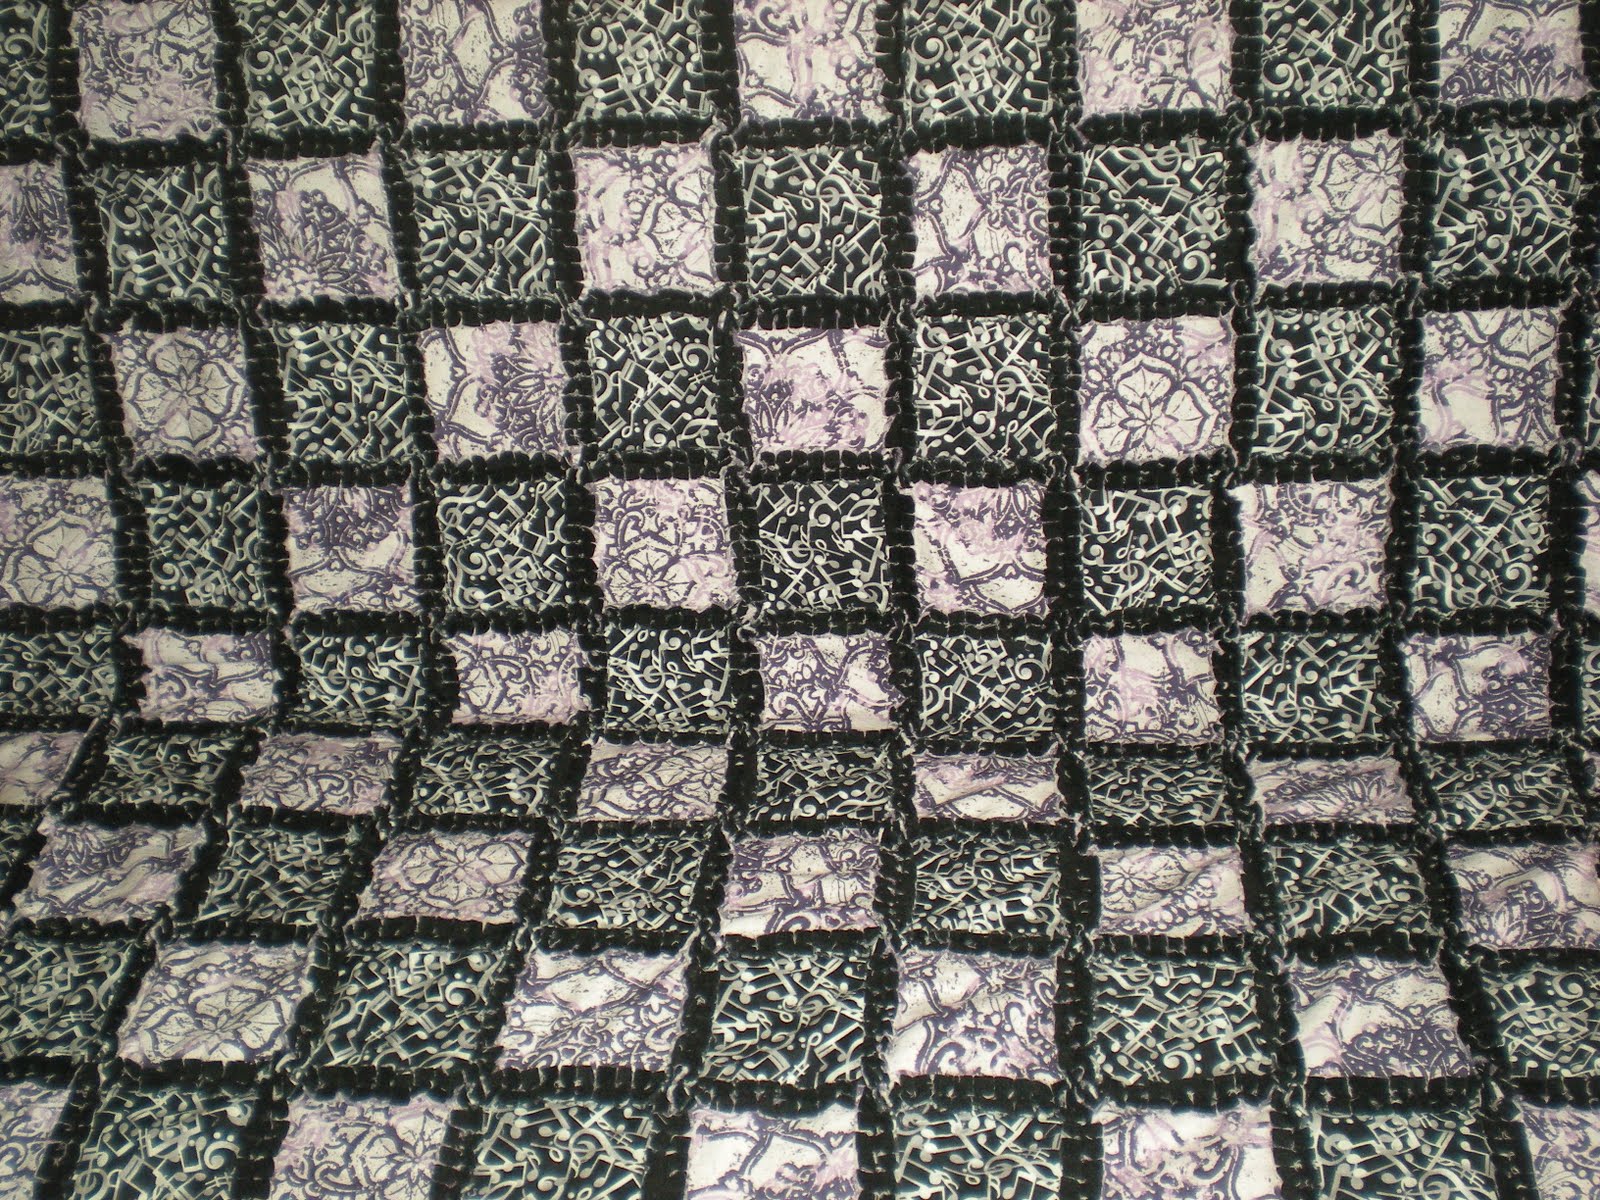
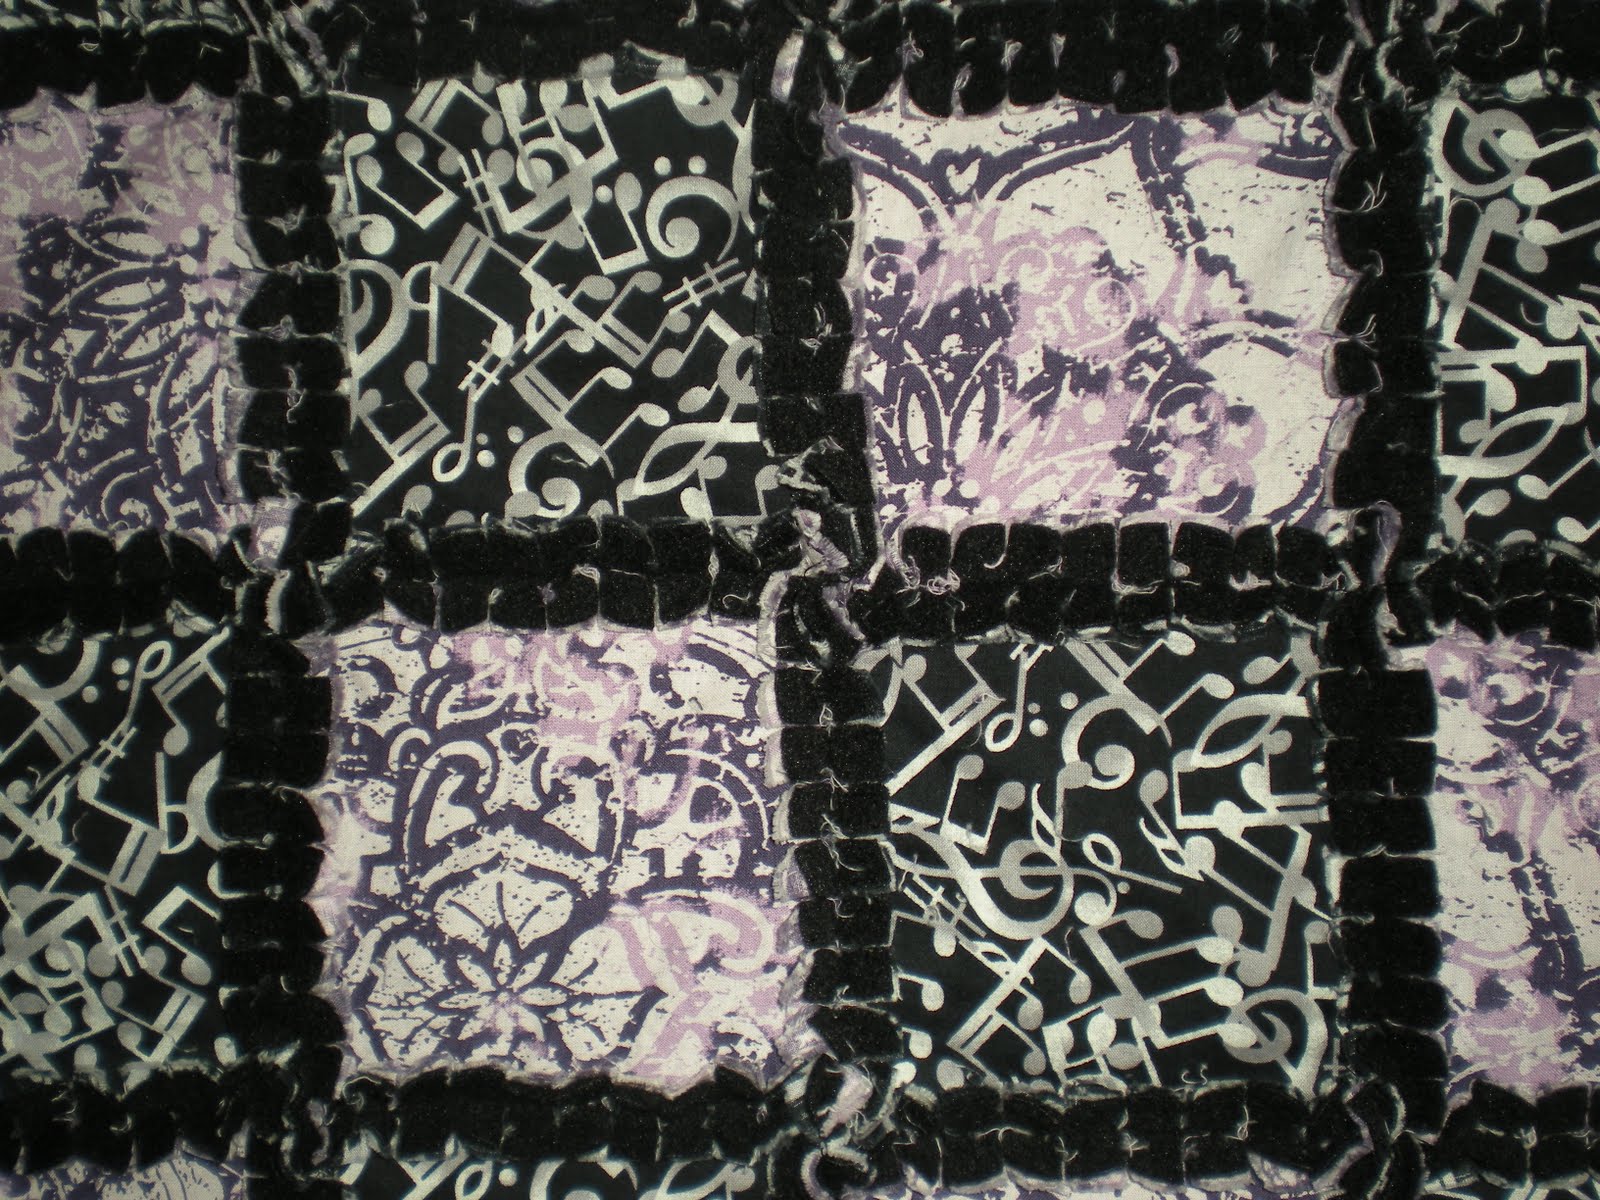
I also quilt, and have recently become addicted to fabric postcards. Here's my most recent quilt, and some postcards that I'm getting ready for a swap that I'm doing.
My personal blog is "Beckysblabber". I'd love to see you over there too! Thanks again to Sylvie, for inviting me to be part of her blog!!

Friday 20 May 2011

A quilt with a difference!

Hello all... as you read this, I'm about to leave to cross the puddle...from Panama to the French Polynesian Islands....I scheduled the post hoping that we would have already left...ha ha
So no we are actually leaving on Sunday and really hoping for some wind because the weather for the month preceding our departure was..no wind...the more wind we get the faster we go :-) unless of course it gets to gale proportions and then......oh well you don't want to hear that....about this quilt... A few years ago I decided to try something different ...I'm not so good at sewing small squares and triangles and such but I still wanted to make something special for my boyfriend's, niece who was soon turning 21.

This is what I came up with:
Gemma's Quilt..she loved it :-D
The Mermaid (Gemma) looking dreamily into the ocean.
A section of the border.
I started the quilt when I was in the UK and worked on it  till I got to The Canary Islands. David and I were flying back to the UK for a few weeks so I took it back with me and sent it to Jenny. The quilt was quilted on a Gammill long arm machine by a lady called Jenny Spencer, who lives up in the northern section of the UK...I sent her the quilt with a note saying.."do whatever you like on here..have some fun"...she phoned me and asked me if I was for real...I told her yes.. I'd met her daughter at a quilt exhibition earlier that year and saw some of Jenny's work. That's when I decided to get her to do my quilts for me. She is amazing. Jenny, hangs the quilt up and looks at it for two or three days...and then over that time she gets inspiration as to how she'd like to quilt it...I just loved her work and phoned her the minute it arrived back in the post....! Exceptional stuff! I flew back to the Canaries and finished it there. I wanted the edging to look like rope..but I didn't do it properly..I learned a lesson there. ;-p Also the ribbon seaweed didn't work as well as I wanted it to...so I learned something there too :-) David took it back to the UK with him where it was exhibited at the Malvern Quilt exhibition...it got a mention but that was it...:-) Only after the show did Gemma finally get to see it. David tells me there were gasps of pleased surprise when it was unrolled and revealed to the family for the first time...made me go all warm inside :-)
I think I may have traced her ..there is a small picture of a quilt called 'Portholes' on this site that certainly looks like Jenny's work : -D
I've asked for a confirmation, hopefully they'll answer before I leave.. ha ha
The bottom right hand corner...
 This is the first of this kind of quilt that I'd attempted... I'm working on another one that is all hand done....I've not been concentrating on it and so it's been sitting about for a year or so...I intend to be a good girl and try and do some whilst crossing the puddle...

So it's what I've been doing while you read this..ha ha...I have finished upholstering the lounge suite  ugh....and I had made a deal with myself......lounge suite first..then quilt.....it's my reward for all the hard boring work..
:-D
Ciao my friends
Nice chatting with you....
I'll be in touch.
Sylvie.


Saturday 14 May 2011

Completed Twin Twins!

They are done! And they are sent off!! They will travel half way around the world before arriving at their new home in Australia!! I hope that the lovely girls they belong to love them as much as my little girls love their quilts ;)
These Twin twins took approx 3 weeks to finish, and I enjoyed making them a lot. This was my first sale from etsy!! super exciting!!


A photo of a Rose.

A wonderful fiend of mine from school days recently sent me some photo's of flowers in her garden. I'd been playing around with the idea of producing a new range simply called Floral Bouquet. The problem was how was I going to do it. i thought of dyeing the whole background and then painting a flower or two on top...but that's too similar to my animal blocks...and this time I wanted the white of the fabric to be incorporated into the flower...if needed...so I couldn't pre-dye the fabric...hmmmm dilemma!

Then as I said...this photo arrived and hey presto I just knew what I was going to do.....
Just look at that! Stunning it is.
So now I'm going to be painting each block ..first the back ground then one or two flowers that are crisp and clear. This is something new and for me very exciting. I'm going to be using a fine woven cloth .....100% cotton of course that I have already washed and shrunk.

I'm going to do Roses, Iris's, Pansies, Sweet peas, Lily's,  actually whatever grabs my fancy.....I'm also thinking of doing an African Wild Flower range too. :-D


Sunday 8 May 2011

Creations that inspire me.

I'm always browsing through books and magazines, looking for ideas and inspiration. Sometimes it's a photo of a hummingbird sipping from a flower or I walk past a bird who is staring intently into a puddle, seeing it's reflection. When I see these things I hopefully have my camera on hand and I take a photo. later I can look at it more closely and garner ideas.
A friend of mine had this wonderful book on manipulating ribbon to create flowers.  It immediately got my attention and I wanted to stop everything right there and then and start learning how to do this. Well of course I couldn't. The book wasn't mine and I think it's now out of print, so I can't buy it unless I pay collector prices...which I can't afford....so I live and dream. What I had done though was to take a photo of one or two photos of examples in the book that caught my eye.


Of course you can't just go ahead and twist ribbon expecting it to turn out like this! you'd have to, most certainly go and buy a book :-).

There are other examples of peoples work that have caught my eye over the years..one is of a quilt made by dyeing the background and then using different coloured thread to 'draw' the design on. brilliant idea I thought. Of course I've seen it in monochrome but this was the first one I'd seen in colour. I truly gives me a boost when I look at it.


The hours of work that went into this! I'm sure it wasn't much faster than making a traditional quilt.
Then there was another quilt I saw somewhere..can't remember when or where, but I took a photo and look at it occasionally. It holds me in awe...so beautiful, I hope that one day I can produce something somewhere close to this creation.


 I hope you enjoyed the sharing and that it gave you some inspiration too. ;-)

Friday 6 May 2011

Welcome!! to Solar Threads !!!

Solar threads has just joined us. Becky is new to Etsy.com and has made her debut with kindle bags..they are really beautifully made. :-D

I have put an advertisement of her shop along with the us all down the right hand side of the blog. Go and have a look at them..

Once again !!! pa parah pa parah toot toot... welcome to Solar Threads...drum roll .. :-D

See ya all
Sylvie

Verification